Lemon Drizzle Loaf Cake

Processed with VSCO with hb2 preset

 I haven’t done a baking post in quite some time and of course with Bake Off being back on TV baking is a must for me, naturally I had to bake one of my favourites.. lemon drizzle. I absolutely love cake and chocolate, but then again who doesn’t?! I could literally live off it which may have possibly contributed to the little lady being 9lb 12oz *hides*.

Processed with VSCO with hb2 preset

Ingredients;

200g softened butter

200g caster sugar

4 medium eggs, beaten

250g self-raising flour

For the drizzle;

juice of 2 lemons and 1 whole lemon

100g granulated sugar

Processed with VSCO with hb1 preset

Method;

Preheat your oven to 180°C, fan 160°C, gas 4. Line your loaf tin using parchment paper or a loaf case.

Weigh out your butter and caster sugar adding it to a large mixing bowl and beat with an electric whisk until light and creamy.

Gradually add your eggs, one at a time, beating well after each addition, add a little flour after adding your eggs. Fold in the rest of the flour.

Spread the mixture in the tin and bake for 45-50 minutes, or until a skewer comes out cleanly.

To make your drizzle, squeeze the juice from the 2 lemons into a bowl and stir in 75g of the sugar.

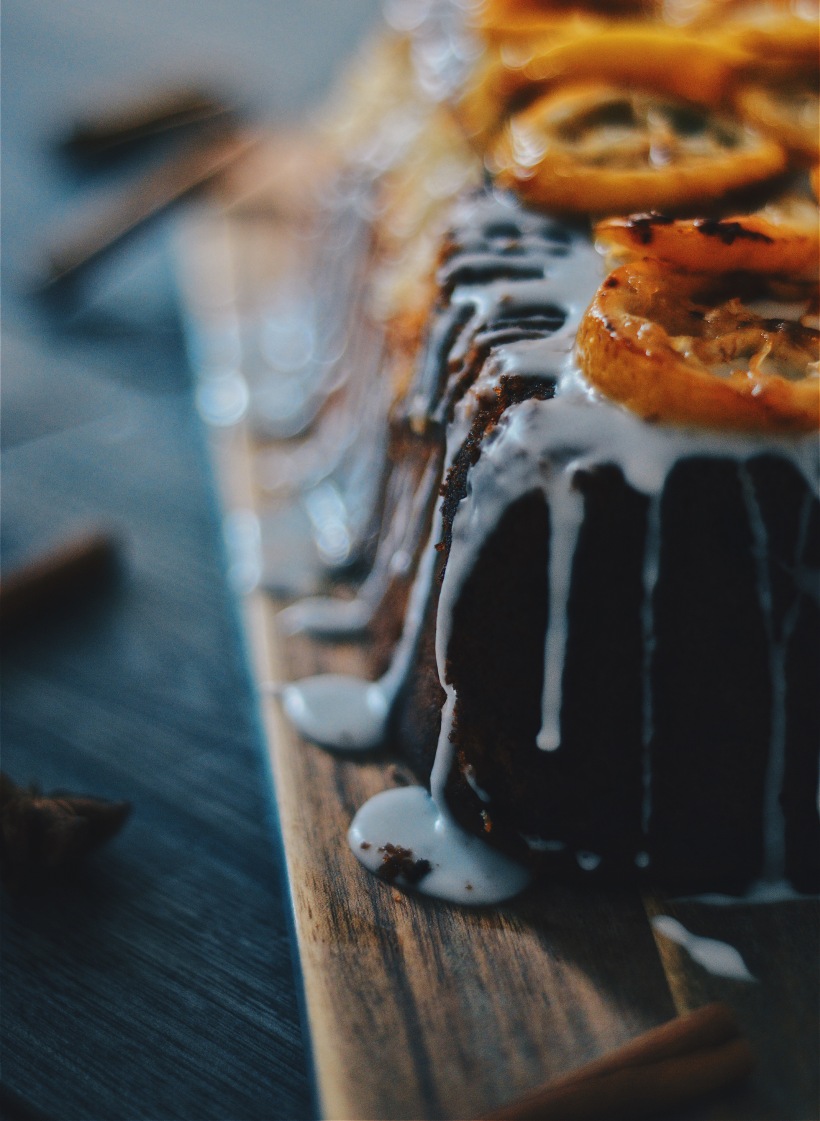
Remove the cake from the oven and pierce it all over with a cocktail stick pouring over your lemon drizzle, leave the cake to cool in the tin.

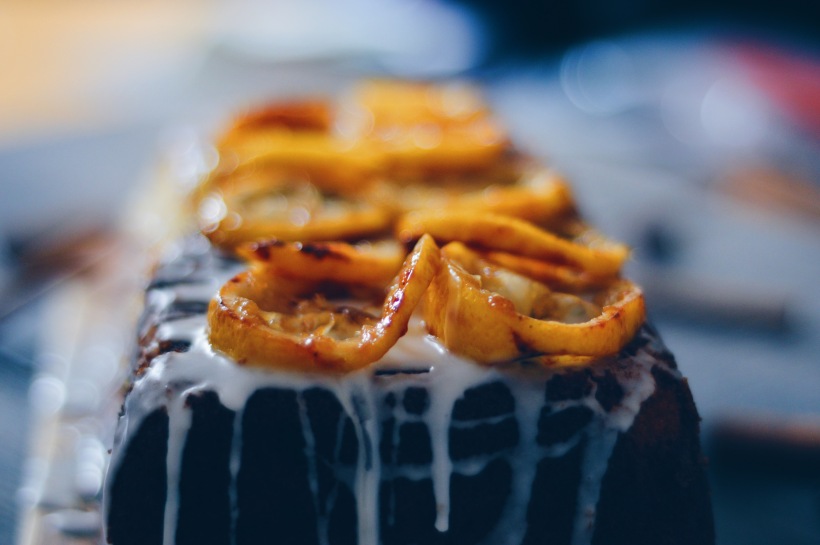
Slice the remaining lemon and put it in a pan with the remaining 25g sugar and 8 tablespoons of water. Bring to the boil then simmer for 12-15 minutes until the lemon slices are tender, watching that the syrup doesn’t burn.

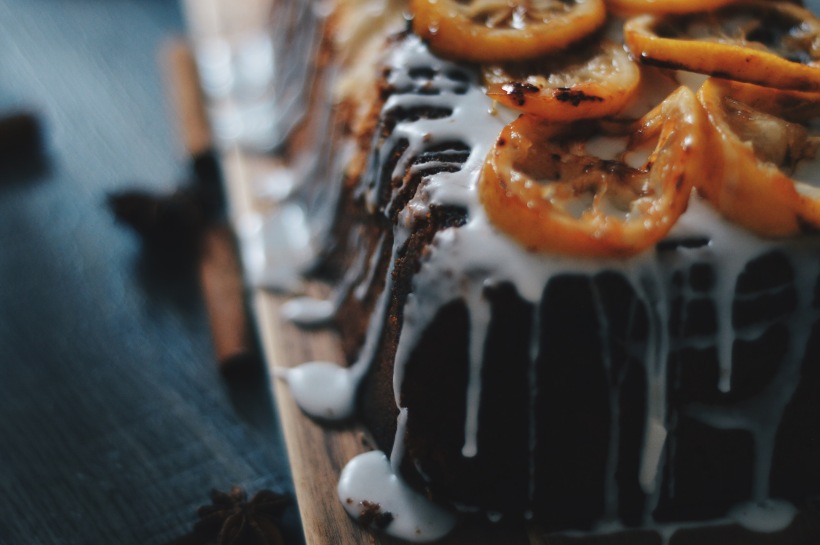
Arrange the slices on top of the cake.

Processed with VSCO with hb1 preset

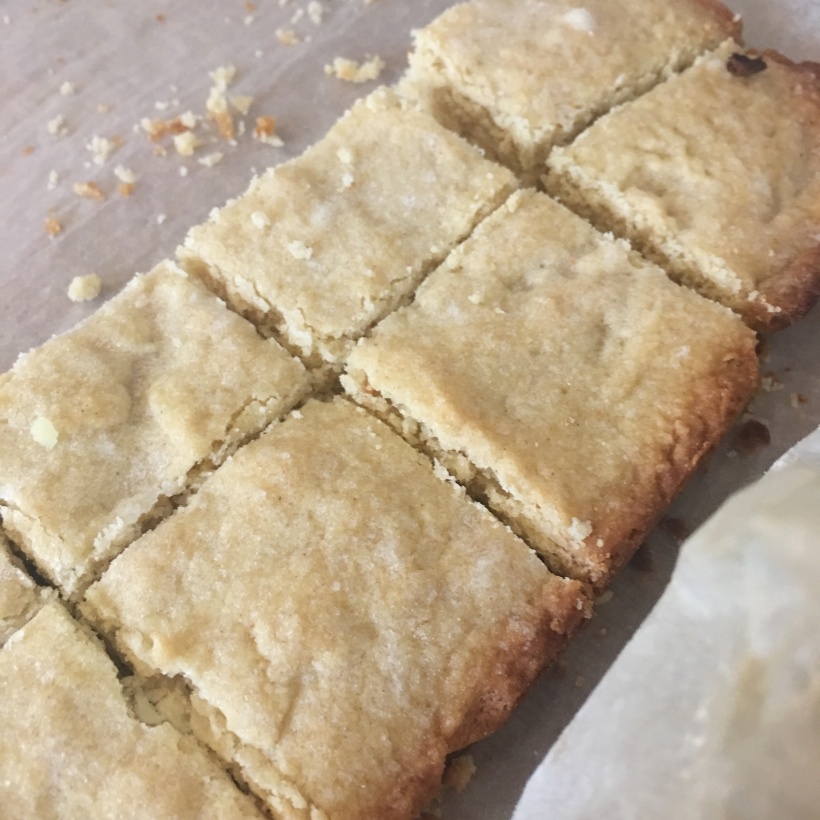
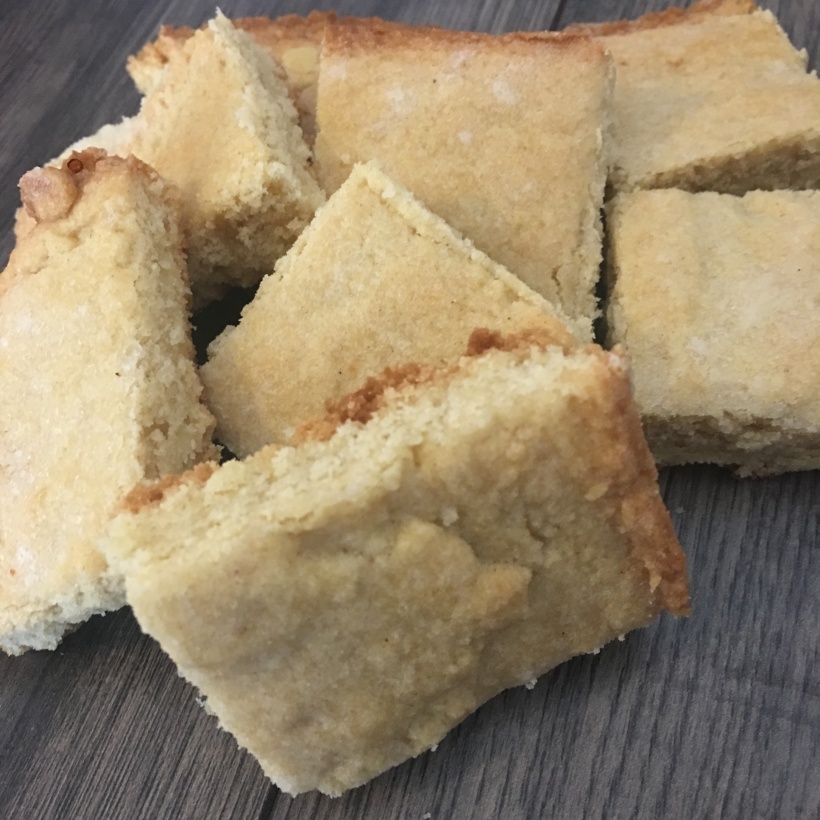
Not to blow my own trumpet but it tastes incredible!

I grabbed the recipe from Sainsbury’s and made some adaptions/removed a couple of steps but if you want to follow it step to step then you can find it here.

What’s your favourite cake?

sig2


Afternoon Baking | 6 Tier Rainbow Cake

If you’ve been following my blog in the last couple of months then you will have noticed that i’ve been doing the odd afternoon baking post. I LOVE cake and just can’t get enough of it.. I literally have a second stomach for it, oh wait that might just be my little cake shelf *hides*.

For Scarlett’s first birthday my husband baked her a 6 tier rainbow cake and it was INCREDIBLE, my baking skills are somewhat poor with my cakes tending to be hit and miss so I set myself a challenge to make my own rainbow cake and it was an absolute success! So here is the recipe I used so you can bake your own.

DSC_6717

For the cake

350g self raising flour

3tsp baking powder

350g soft soft unsalted butter

350g caster sugar

6 large eggs

1 tablespoon vanilla extract

splash of milk

For the frosting

100g unsalted butter, soft

250g cream cheese, at room temperature

600g icing sugar, sifted

DSC_6723

Method

  1. Preheat your oven to gas mark 4 and begin prepping your cake tins, for this I just grabbed mine from Poundland and some pre cut circle baking sheets which work a treat in them, saves a lot of fuss.
  2. Cream your butter and sugar together using an electric hand mixer until light and fluffy.
  3. Once your butter is light and fluffy add your eggs in one at a time.
  4. Begin to add your flour a little bit at a time with your hand mixer on slow, then add your baking powder and vanilla extract.
  5. Depending on how thick your mixture is add a splash of milk so it’s the correct consistency.
  6. Divide your cake mixture into six bowls, I did mine a heaped table spoon at a time to each bowl.
  7. Add your food colouring to each of the separated cake mixtures, for this I used Sugarflare gels they work wonders.
  8. Once your colours are mixed add them into your cake tins.
  9. Now it’s time to bake your cakes, I do mine 3 at a time for 15-20 minutes, prick your cakes with a cocktail stick to make sure they are fully baked, if there is mixture sticking to the stick then pop them back in for a couple more minutes.
  10. Once all baked leave them to fully cool down before frosting.
  11. Whilst your cakes are cooling now it’s time to make up your frosting, add your butter and cream cheese together combining it, once that’s done your can add your icing sugar in a little bit at the time until you get a thick consistency. Add it to the fridge to chill.
  12. Once all the cakes have cooled it’s time to assemble, add a small blob onto the centre of your cakes spreading it thinly and add your next layer, repeat this until your cakes are assembled.
  13. Crumb coat your cakes by applying a layer of frosting around the sides of your cakes which will fill any gaps. Chill for a hour after this.
  14. Apply a thick coat of frosting to your cake and using a side scraper even it out.

DSC_6729

What’s your favourite type of cake?

sig2


Afternoon Baking | Quick & Easy Homemade Shortbread

As i’ve mentioned before I have a sweet tooth, in fact an everything tooth! I love sweet & carbs which isn’t necessarily a good thing so I tend to not buy junk in on the house shop and get it from every now and again.. actually that’s a bit of a fib, quite a lot lately *hides*. Due to not having junk in the house I don’t have any biscuits and today that pesky sweet tooth came out, cause come on you can’t have a cup of tea without a biscuit right?!? I headed over to my trusty friend BBC Good Food and found a quick and easy recipe to use, needing only 3 ingredients!

IMG_6323

Ingredients

125g/4oz butter55g/2oz caster sugar, plus extra to finish, 180g/6oz plain flour.

Method

  1. Heat the oven to 190C/375F/Gas 5.

  2. Beat the butter and the sugar together until smooth.

  3. Stir in the flour to get a smooth paste. Turn on to a work surface and gently roll out until the paste is 1cm/½in thick.

  4. Cut into rounds or fingers and place onto a baking tray. Sprinkle with caster sugar and chill in the fridge for 20 minutes.

  5. Bake in the oven for 15-20 minutes, or until pale golden-brown. Set aside to cool.

IMG_6324

IMG_6322

Are you a sweet, savoury or both?

sig2

Afternoon Baking | Mini Egg Chocolate Cornflake Cakes

Afternoon baking is becoming a weekly occurrence which isn’t always the best thing especially for my waist but sweet stuff such as cake and chocolate is always my weakness *hides away*, it just tastes so so good. This week as easter is fast approaching me and my lady baby decided to whip up some mini egg chocolate cornflakes which are super quick and easy to make, below is the recipe.

IMG_6074

Ingredients:

50g butter 100g milk or dark chocolate, broken into chunks, 3 tbsp golden syrup, 100g cornflake & 1 packet of mini eggs

Method:

1. Melt your butter, chocolate and golden syrup on low heat in a bowl over a saucepan, allow to cool for a couple of minutes once ready.

2. Stir all your ingredients together until chocolate covers all of your cornflakes and then spoon the mixture into your cupcake cakes. Add your mini eggs on top of your cornflakes.

3. Pop your chocolate cornflakes into the fridge to set.

IMG_6077

sig2

Baking | Pancake Day Recipe

With my never ending obsession with sweet stuff each year I look forward to Pancake Day, with this month feeling like it’s flown by it feels like it’s come around a lot quicker *yay*. I never feel like crepe pancakes are enough unless it’s a stack of about 10.. yes I know i’m a greedy chops, so american pancakes are always my favourite. I grabbed the recipe off BBC Good Food which is pretty fool proof so anyone should be able to make these.

pancakes

Ingredients

135g/4¾oz plain flour, 1 tsp baking powder, ½ tsp salt, 2 tbsp caster sugar, 130ml/4½fl oz milk, 1 large egg, lightly beaten, 2 tbsp melted butter (allowed to cool slightly) or olive oil, plus extra for cooking & choice of toppings.

Method

  1. Sift the flour, baking powder, salt and caster sugar into a large bowl. In a separate bowl or jug, lightly whisk together the milk and egg, then whisk in the melted butter.

  2. Pour the milk mixture into the flour mixture and, using a fork, beat until you have a smooth batter. Any lumps will soon disappear with a little mixing. Let the batter stand for a few minutes.

  3. Heat a non-stick frying pan over a medium heat and add a knob of butter. When it’s melted, add a ladle of batter (or two if your frying pan is big enough to cook two pancakes at the same time). It will seem very thick but this is how it should be. Wait until the top of the pancake begins to bubble, then turn it over and cook until both sides are golden brown and the pancake has risen to about 1cm (½in) thick.

  4. Repeat until all the batter is used up. You can keep the pancakes warm in a low oven, but they taste best fresh out the pan.

  5. Serve with toppings.


 What’s your favourite pancake topping?

sig2